Understanding Interior Painting Basics
What is Interior Painting and Its Importance?
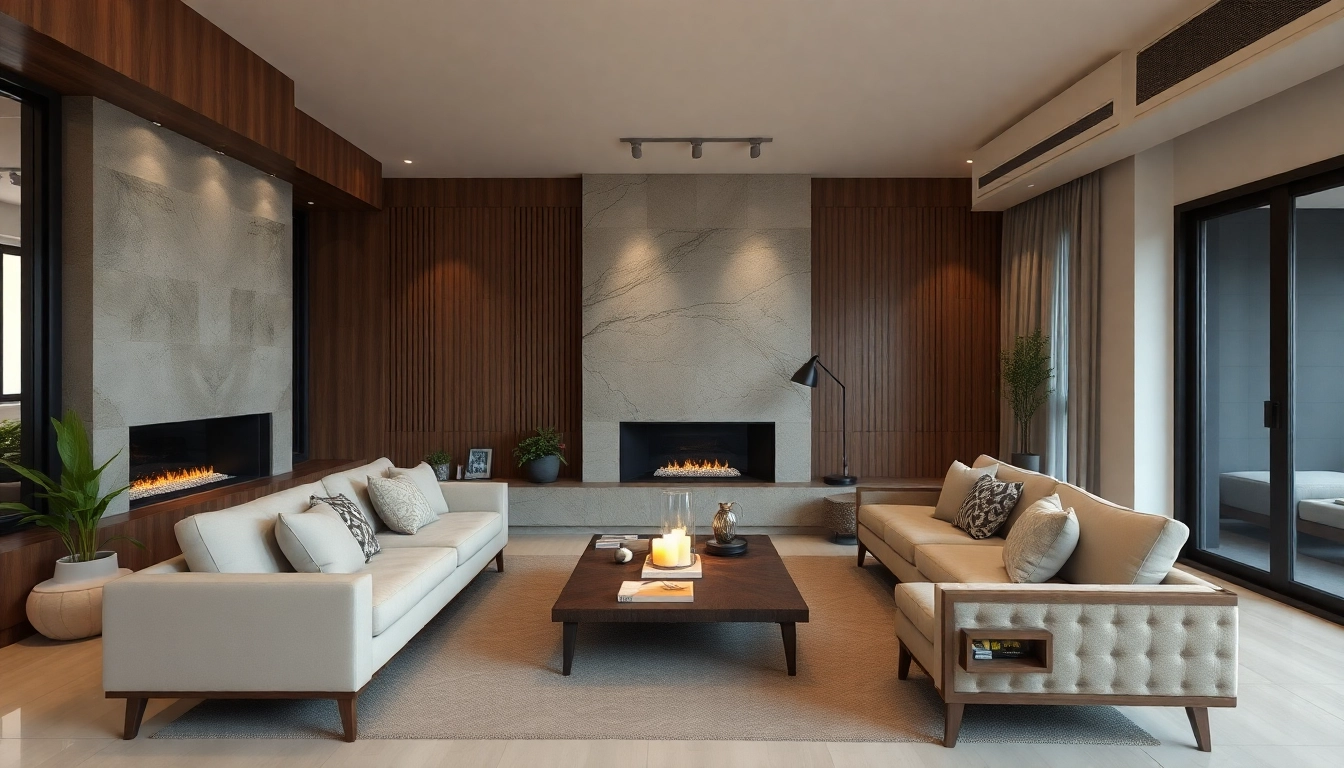
Interior painting refers to the process of applying paint to indoor spaces such as walls, ceilings, and trim. This activity plays a crucial role in home aesthetics and maintenance. Not only does a fresh coat of paint refresh and enhance the visual appeal of any room, but it also serves practical purposes such as protecting surfaces from wear and tear, moisture, and mold.
Moreover, the psychological impact of color and texture in a home can affect mood and overall living experience. Therefore, investing in interior painting is about more than just aesthetics; it is about enhancing quality of life and creating spaces that resonate with personal style and comfort.
Types of Interior Paint Finishes
Choosing the right type of paint finish is essential for achieving the desired look and functionality of your space. Common types of interior paint finishes include:
- Flat/Matte: Ideal for hiding imperfections, this finish has no shine and is best used in low-traffic areas like ceilings or adult bedrooms.
- Eggshell: With a slight sheen, eggshell finishes are durable and easy to clean, making them great for living rooms and hallways.
- Satin: Similar to eggshell but with a richer gloss, satin finishes are perfect for rooms with high humidity like bathrooms and kitchens.
- Semi-Gloss: This reflective finish is excellent for trim and moldings, providing a polished look and easy wipeability.
- Gloss: The shiniest option, gloss finishes are particularly good for doors and cabinets, making them easier to clean but revealing every bump and imperfection.
Essential Tools for Interior Painting
Successful interior painting requires the right tools and supplies. Here’s a list of essentials:
- Paint: Choose high-quality paint that suits your finish preference and desired color.
- Primer: A primer is necessary for new surfaces or when changing dark colors to lighter ones.
- Painters Tape: This helps achieve clean lines and prevents paint from bleeding onto surfaces that need to remain unpainted.
- Brushes and Rollers: Different sizes and shapes for precise application, rollers for large areas, and brushes for touch-ups and edges.
- Drop Cloths: Protect floors and furniture from paint splatters and spills.
- Paint Tray: For easy access to paint and efficient loading of brushes and rollers.
- Step Ladder: To reach higher areas like tall walls and ceilings comfortably and safely.
- Screwdrivers: To remove hardware that may get in the way of your painting.
Choosing the Right Colors for Your Space
Color Psychology in Interior Design
Understanding color psychology is critical for making informed decisions about paint colors. Colors evoke emotions and can alter perceptions of space:
- Warm Colors (Red, Orange, Yellow): Energetic and inviting, these colors are best used in social areas like kitchens and living rooms.
- Cool Colors (Blue, Green, Purple): Conducive to calmness and tranquility, these colors are ideal for bedrooms and bathrooms.
- Neutral Colors (Beige, Gray, White): Versatile and balanced, neutral colors provide a classic backdrop that can adapt to any decor style.
- Accent Colors: Used for specific areas, furniture, or decor to add personality and visual interest.
How to Create a Color Palette
Creating a cohesive color palette involves selecting a color scheme that works harmoniously. Here are steps to help you make a well-rounded palette:
- Pick a Dominant Color: Choose a color that makes you feel good and suits the room’s purpose.
- Complementary Colors: Select two to three colors that complement the dominant color, taking into account different finishes and textures.
- Neutral Tones: Incorporate neutrals that can balance more vibrant shades, allowing for a well-rounded look.
- Consider Lighting: Natural and artificial lighting can dramatically shift how colors appear. Test swatches under different lighting before making final decisions.
Trends in Interior Painting Colors
Staying updated with current trends can inspire your interior painting choices. Some popular trends include:
- Earthy Hues: Colors inspired by nature, such as terracotta, olive green, and muted blues, are gaining popularity for their calming and grounding effects.
- Bold Accents: Using striking colors like navy, emerald green, or even black on accent walls for depth and character.
- Pastels: Soft pastels, particularly in bedrooms and nurseries, create a serene atmosphere while still adding color.
- Monochromatic Schemes: Different shades of a single color can create a sophisticated and harmonious look throughout a space.
Preparation and Planning for Your Interior Painting Project
How to Prep Your Walls Before Painting
Preparation work can significantly impact the outcome of your interior painting. Here’s a checklist of steps to properly prep walls:
- Clear the Area: Move furniture and cover floors with drop cloths.
- Clean the Walls: Dust and wash walls to ensure paint adheres well.
- Repair Imperfections: Fill in holes and cracks with spackle or filler, and sand down rough areas.
- Prime the Walls: Apply primer if necessary, particularly when transitioning between dark and light colors.
Estimating Costs for Your Interior Painting Project
Understanding the costs involved helps you budget effectively for your interior painting project. Generally, costs can vary based on several factors:
- Size of the Area: Larger spaces require more paint and labor.
- Type of Paint: Higher quality paints often come with a higher price tag but typically yield better results.
- Professional Help vs. DIY: Labor costs can significantly affect your budget if hiring professionals.
- Location: Regional material and labor costs can fluctuate based on geographical location.
An average range for interior painting could be from $1,800 to $10,000 or more, depending on your specific needs and conditions.
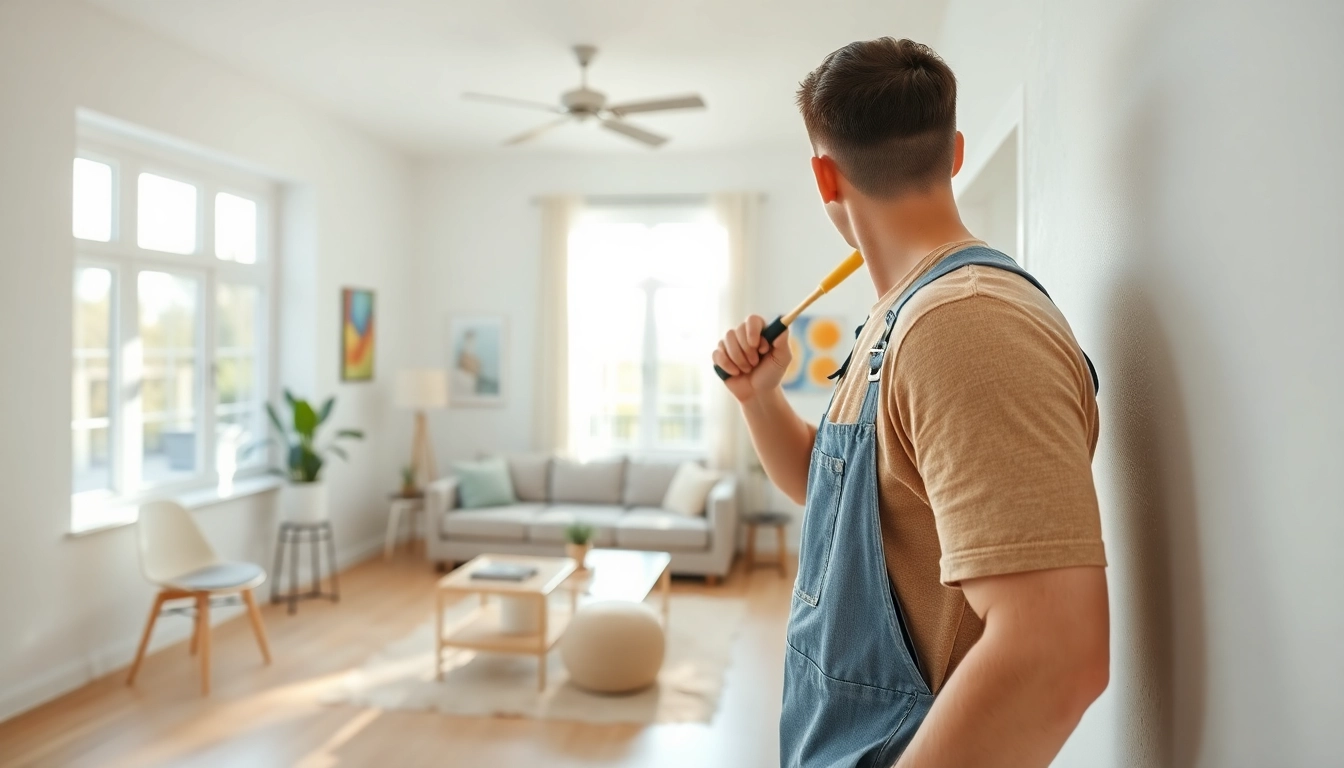
Hiring Professionals vs. DIY Painting
Deciding between DIY interior painting and hiring professionals involves weighing pros and cons:
- DIY Pros: Cost savings, personalization, and the satisfaction of completing a project independently.
- DIY Cons: Time-consuming, potential mistakes if inexperienced, and the need to acquire tools and materials.
- Professional Pros: expertise, high-quality results, and time efficiency.
- Professional Cons: Higher costs and less personal control over the project.
Executing a Flawless Interior Painting Job
Step-by-Step Guide to Painting a Room
Executing a successful painting project can be broken down into organized steps:
- Gather Tools and Materials: Ensure all necessary tools are on hand before starting.
- Prep the Room: Follow preparations outlined previously.
- Start with the Ceiling: Using a roller, paint the ceiling first to avoid drips on the walls.
- Paint the Walls: Use a roller for large areas, and a brush for edges and corners to ensure complete coverage.
- Trim and Molding: Paint baseboards and trim last, ensuring you maintain clean lines with the painter’s tape.
- Clean Up: Remove painter’s tape while the paint is still slightly wet for the best edge results.
Common Mistakes to Avoid
Avoiding pitfalls can ensure smoother application and better outcomes:
- Skipping Pre-Preparation: Neglecting wall prep can lead to poor paint adhesion and imperfections.
- Poor Quality Paint: Choosing low-quality paint may result in uneven color and excessive wear.
- Not Using Primer: Failing to use primer can affect coverage, particularly on new or damaged walls.
- Neglecting Lighting Considerations: Poor lighting when choosing colors can lead to unexpected results.
Tips for a Smooth Finish and Clean Lines
For the best results, consider the following tips:
- Use High-Quality Tools: Investing in good brushes and rollers will result in better application.
- Don’t Rush: Take your time to ensure even coats and allow for dry times as recommended by paint manufacturers.
- Keep a Wet Edge: For a smooth finish, always paint to the wet edge of the paint.
- Practice Clean Techniques: Use painter’s tape for edges and remove it carefully for clean lines.
Post-Painting Care and Maintenance
How to Clean Up After Painting
Cleaning up after an interior painting job is essential for maintaining the quality of your tools and the overall cleanliness of your home:
- Dispose of Paint Properly: Follow local regulations for disposing of excess paint.
- Clean Brushes and Rollers: Use warm, soapy water for water-based paints or mineral spirits for oil-based paints.
- Remove Drop Cloths: Allow any paint splatters to dry before removing drop cloths to avoid messes.
- Store Leftover Paint: Label containers and store in a climate-controlled environment for future touch-ups.
Maintaining Your Painted Surfaces
To keep your newly painted surfaces looking pristine:
- Regularly Inspect: Periodically check for scuffs or wear and take care of minor repairs promptly.
- Clean with Care: Dust and wipe down surfaces with gentle, non-abrasive cleansers that won’t damage the paint.
- Avoid Excessive Moisture: Address leaks quickly to prevent damage on painted surfaces.
- Touch Up as Needed: Keep extra paint on hand for easy touch-ups to maintain a fresh look.
When to Consider Repainting?
Knowing when to repaint your interior spaces can greatly enhance the longevity and aesthetics of your home:
- Fading or Discoloration: Paint that has faded significantly or has become dull may need a refresh.
- Peeling or Cracking: Visible damage indicates that the integrity of the paint has been compromised.
- Before Selling: A fresh coat of paint can boost curb appeal and value when preparing to sell your home.
- Style Changes: If your decor or preferences have changed, it may be time to consider new colors.